
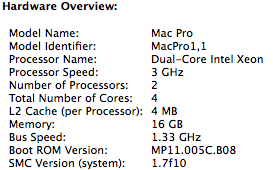
Recently, I had an original Mac Pro fall into my hands. It’s the Quad-Core 3Ghz model. It’s not a bad machine for being free! The interesting thing is that this old Mac Pro geekbenched higher than my Hackintosh that I made a few years ago. So I figured it was time to scrap the hackintosh and go with the real Mac!
The only caveat is that the original Mac Pro doesn’t “officially” support OS X Mavericks. However, with the help of some people over on forums of MacRumors.com I was able to get it installed. I needed to upgrade the graphics card though since Mavericks doesn’t support the GeForce 7300GT that came with the original Mac Pro. Luckily I had an old PC GeForce 8800GTS that works just fine in the Mac Pro (as long as you’re running Lion or higher!).

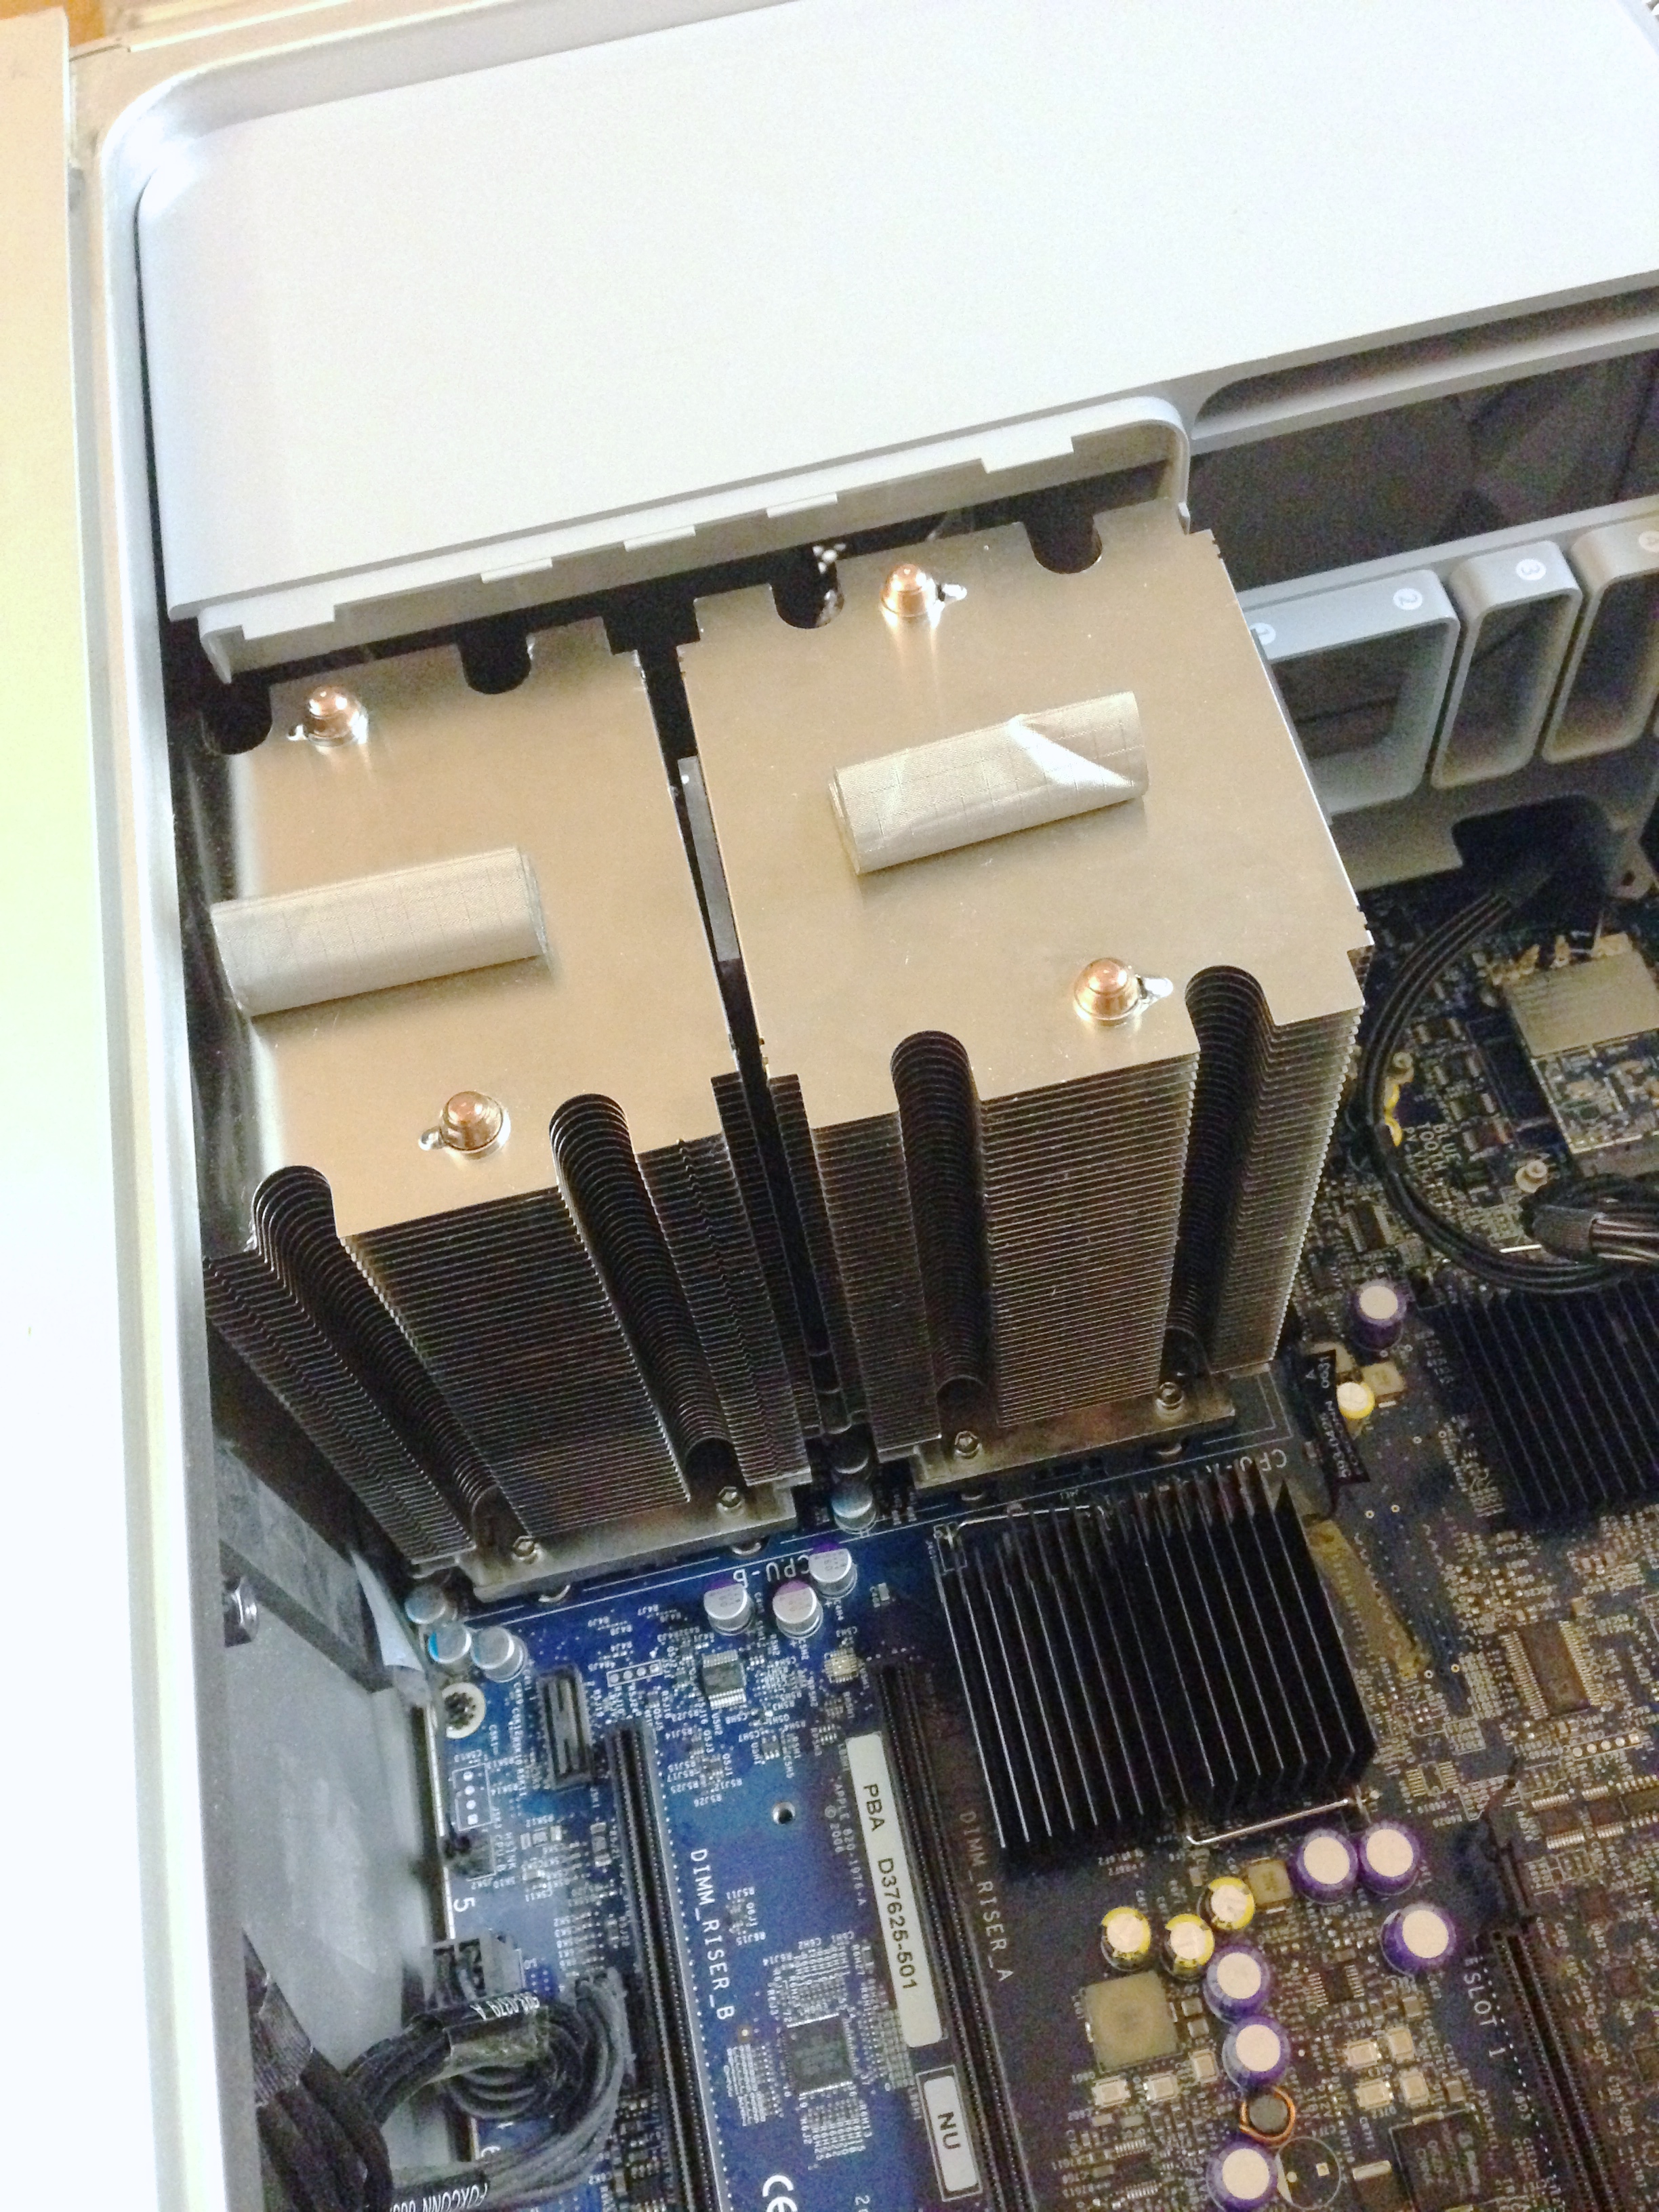
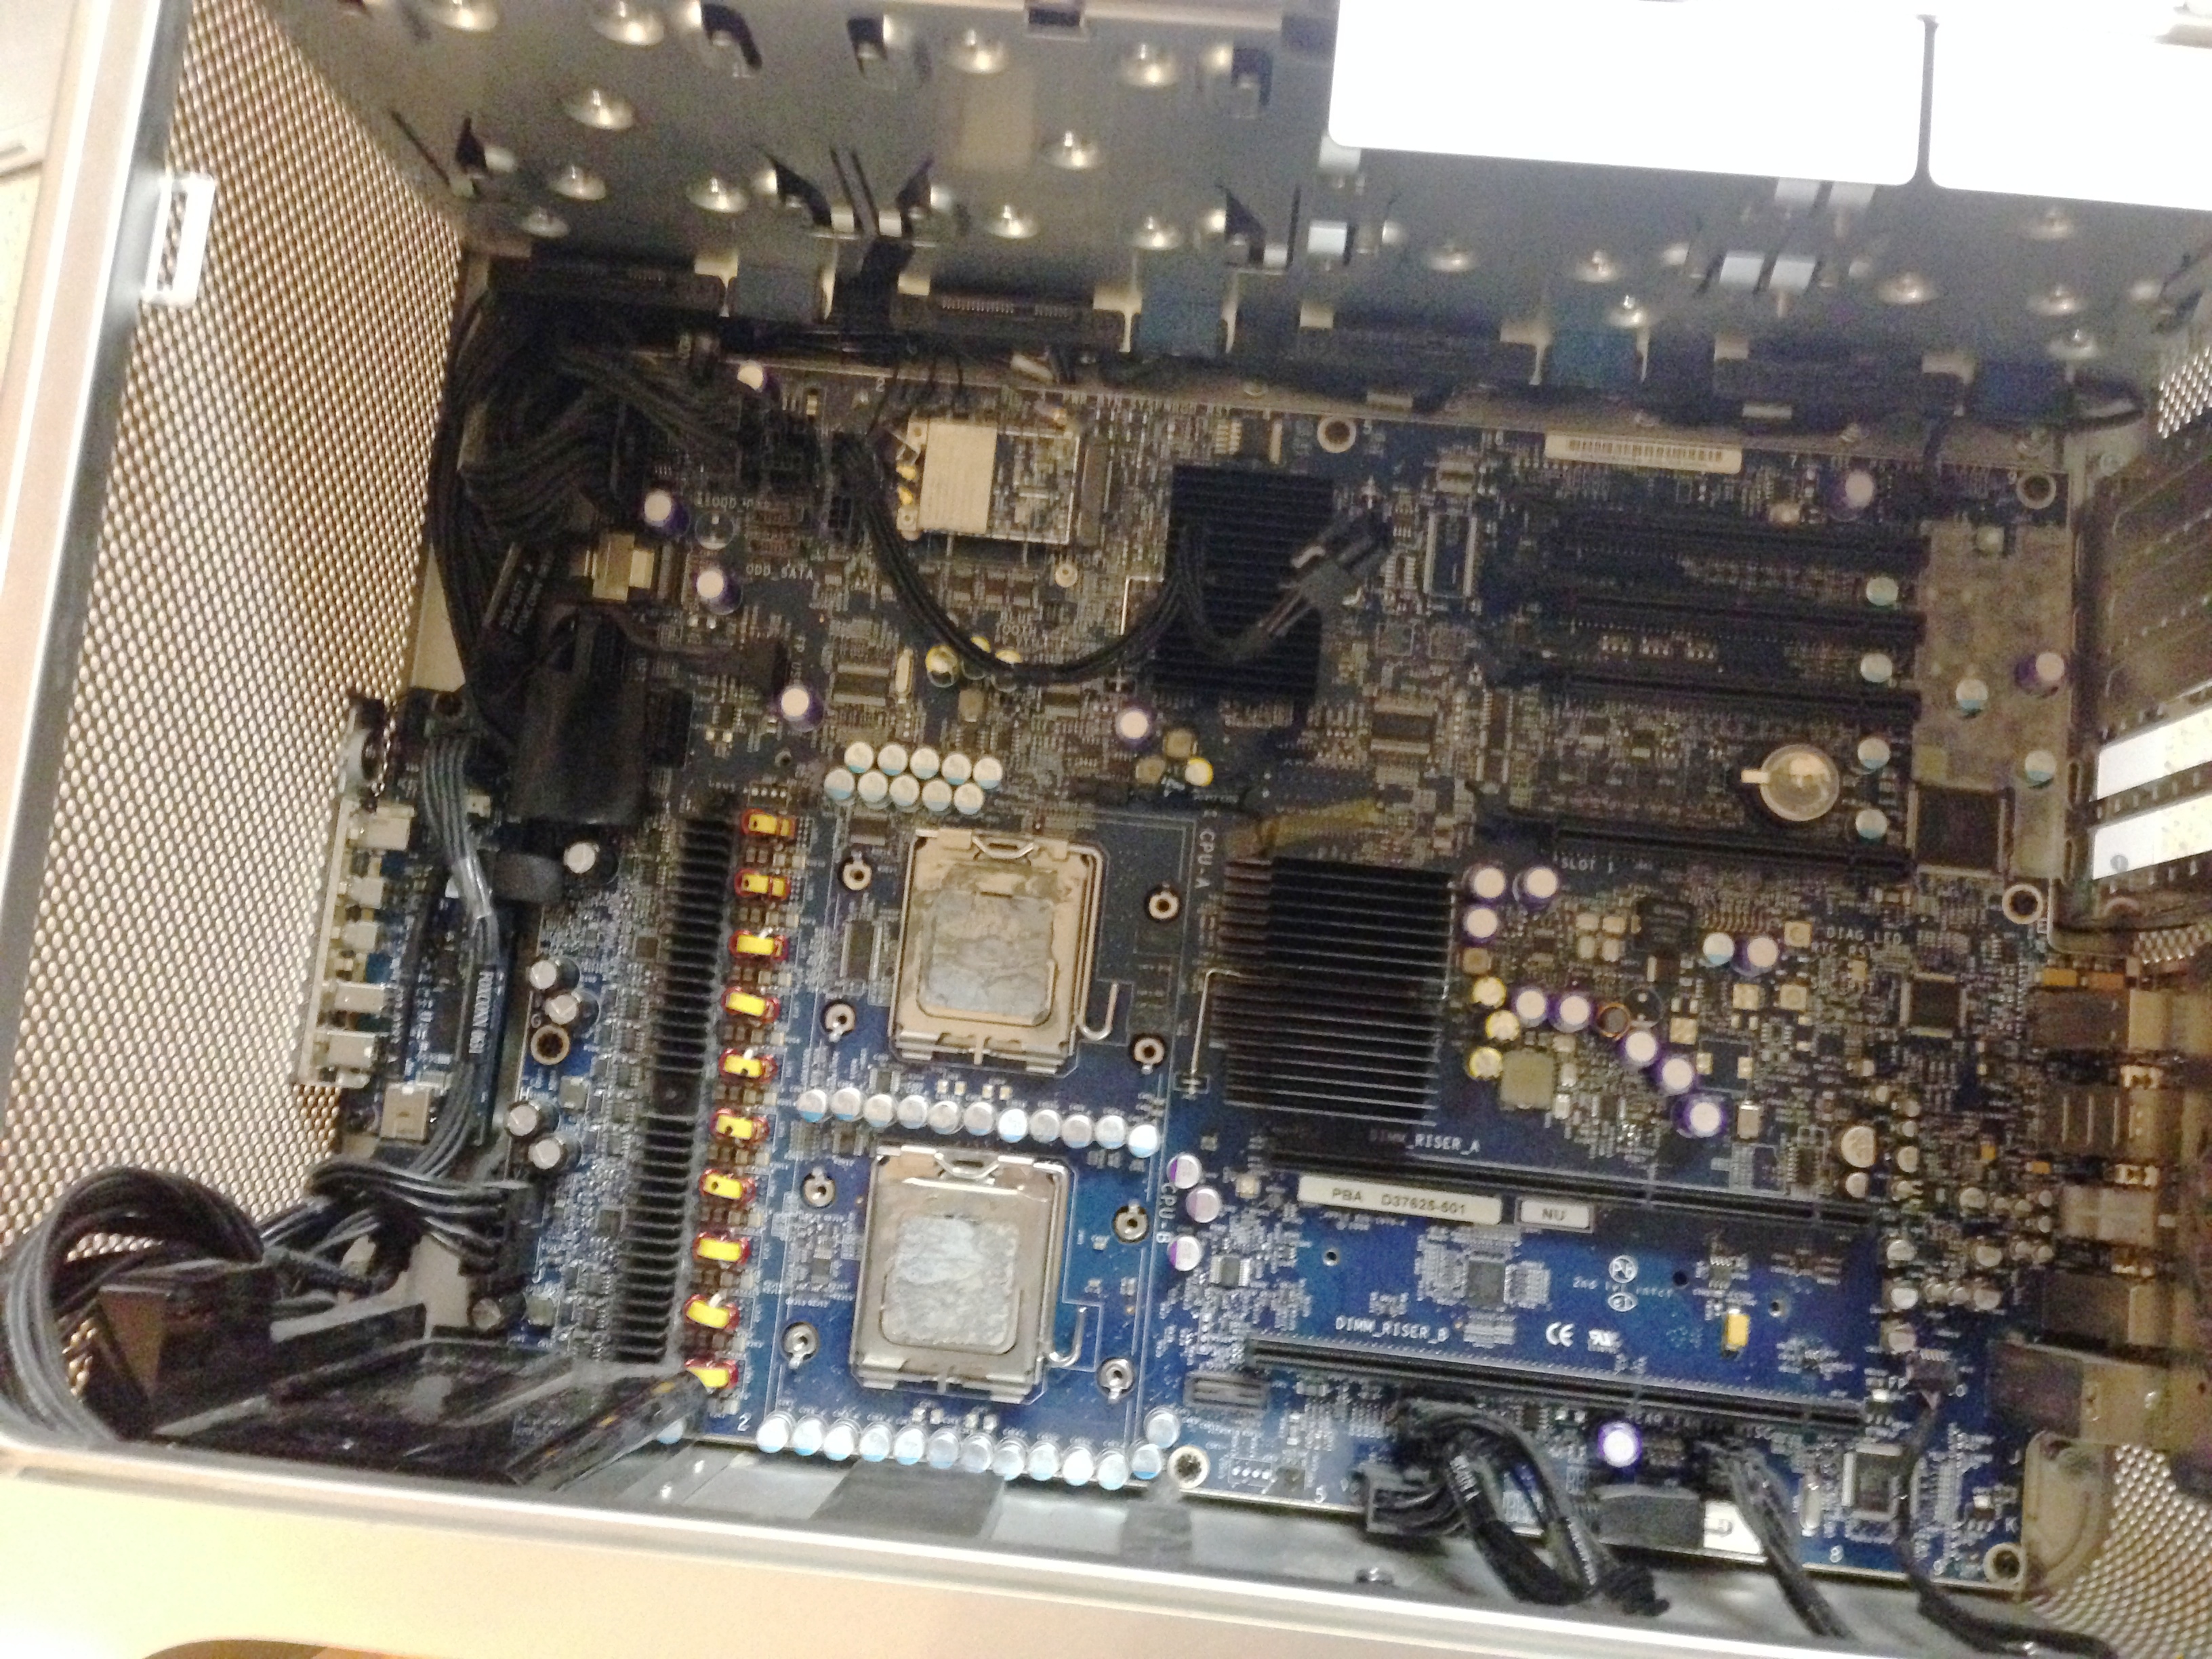
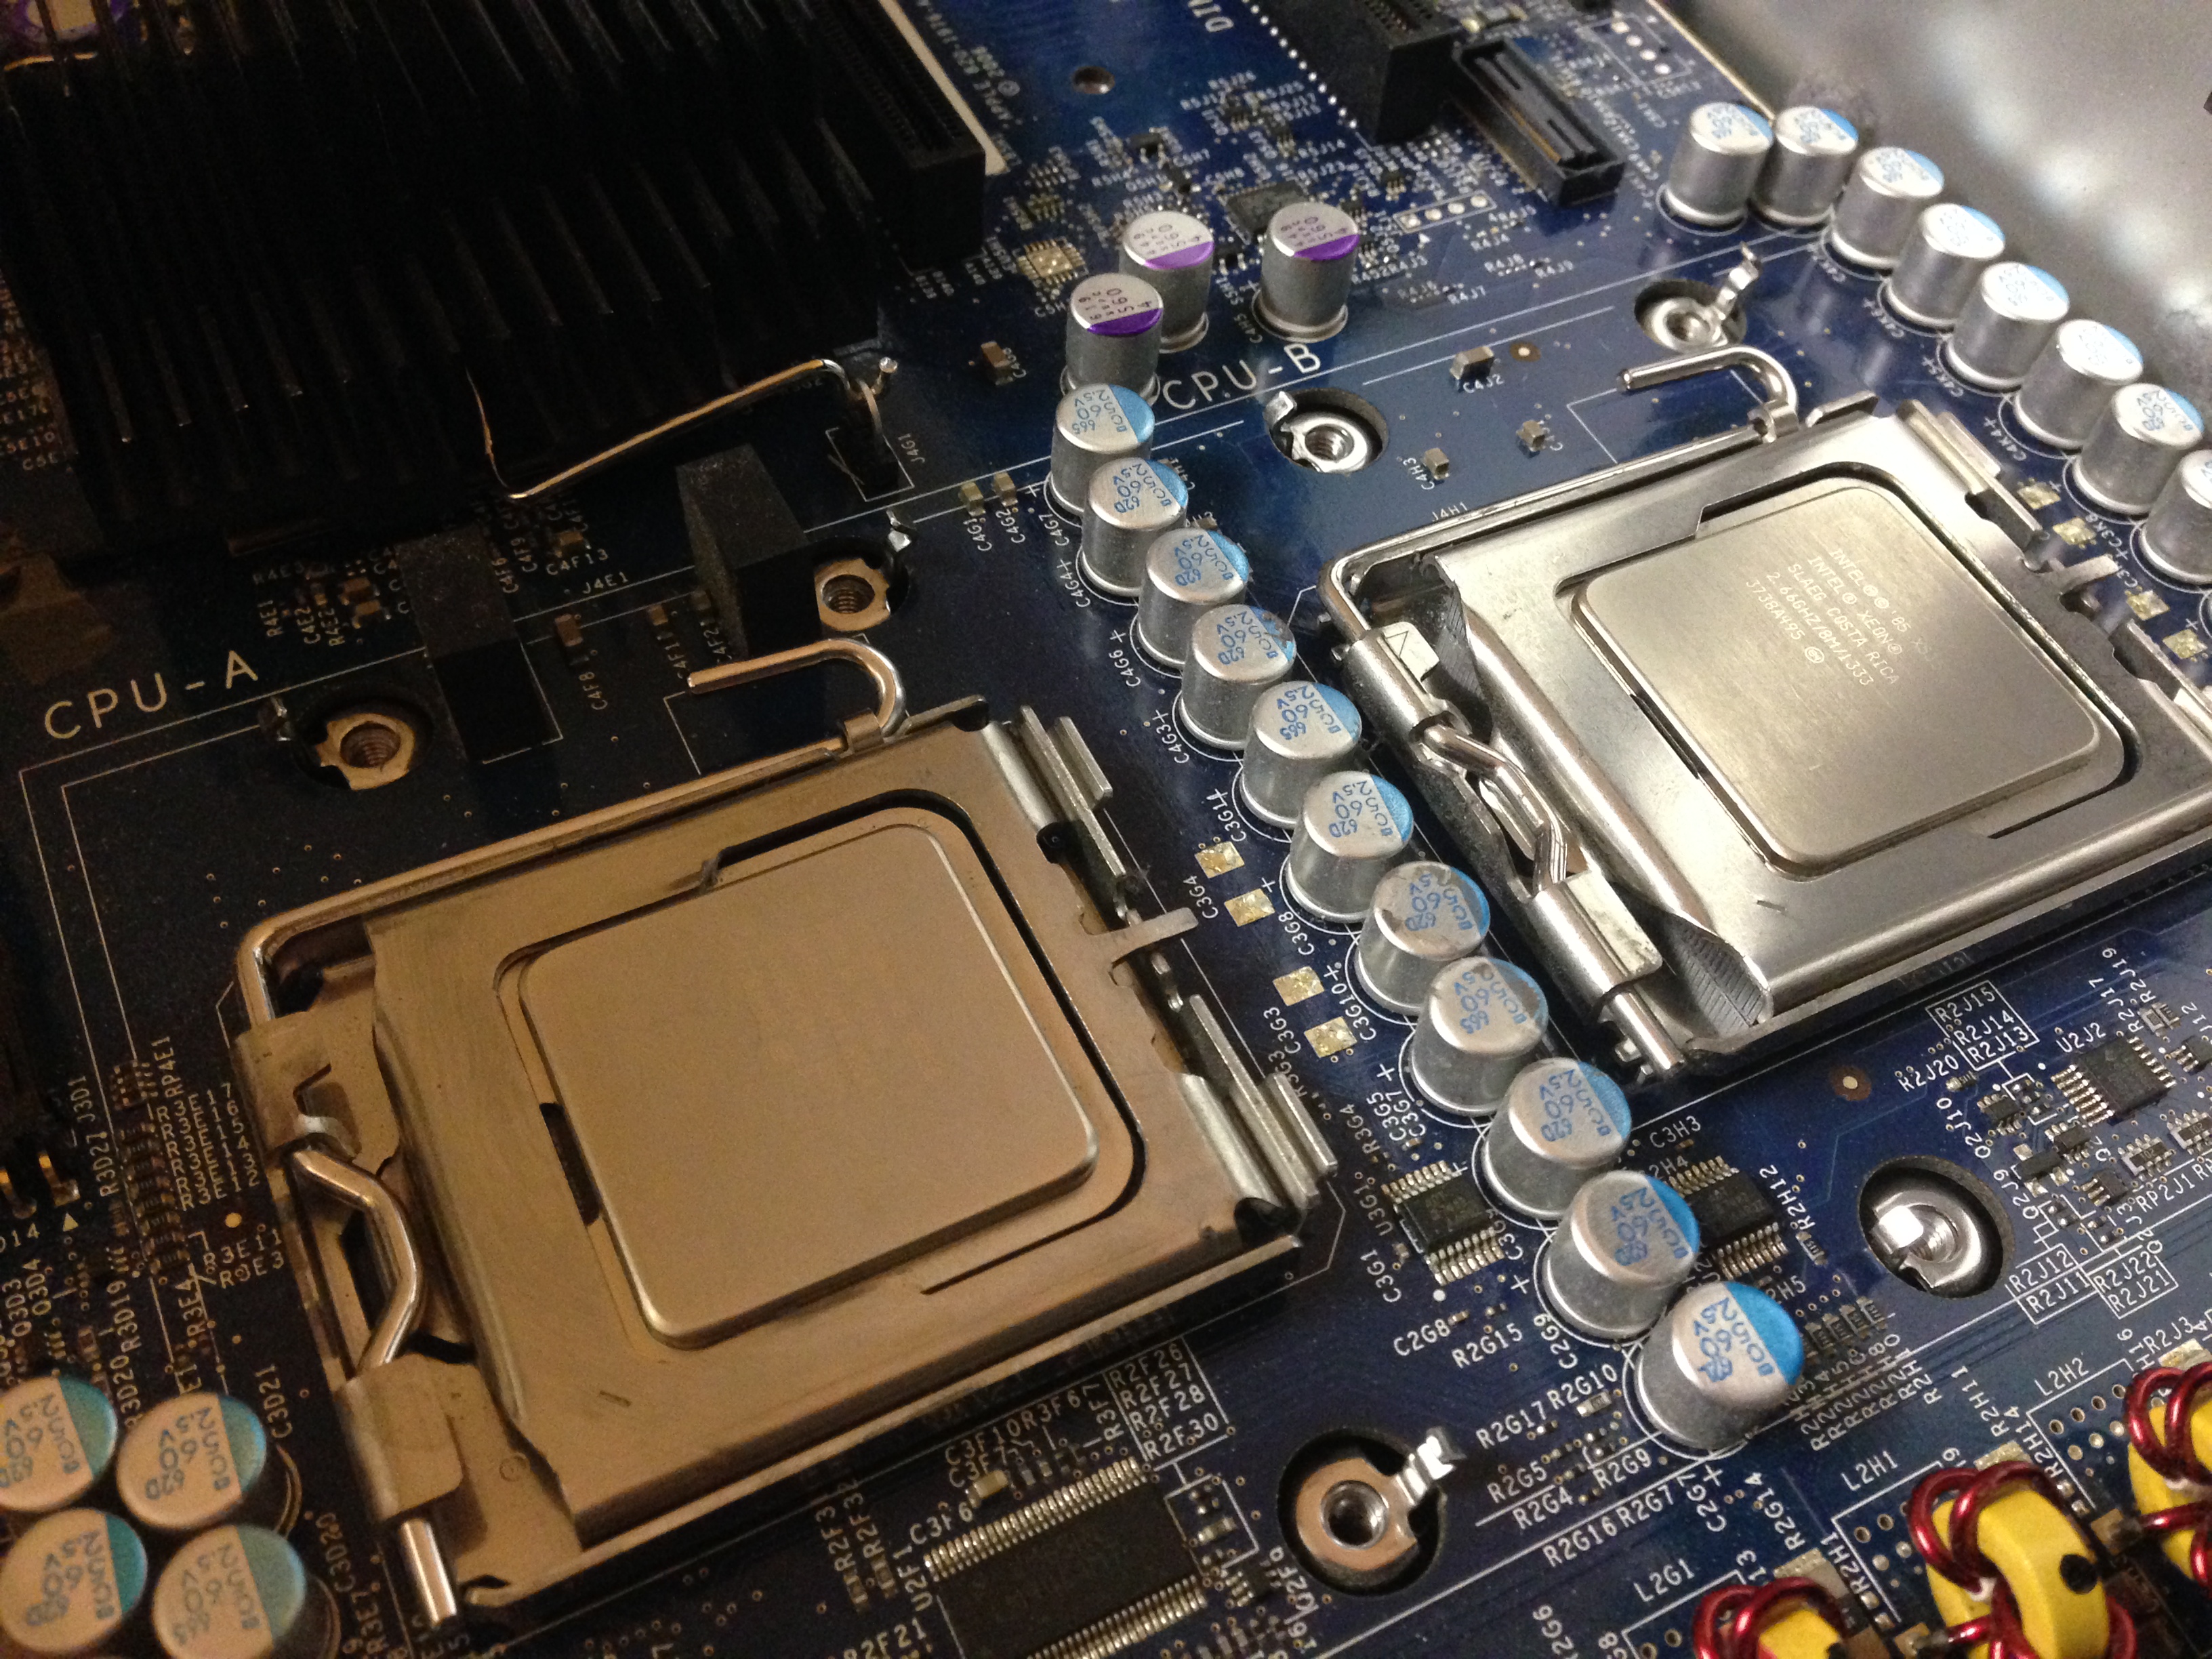
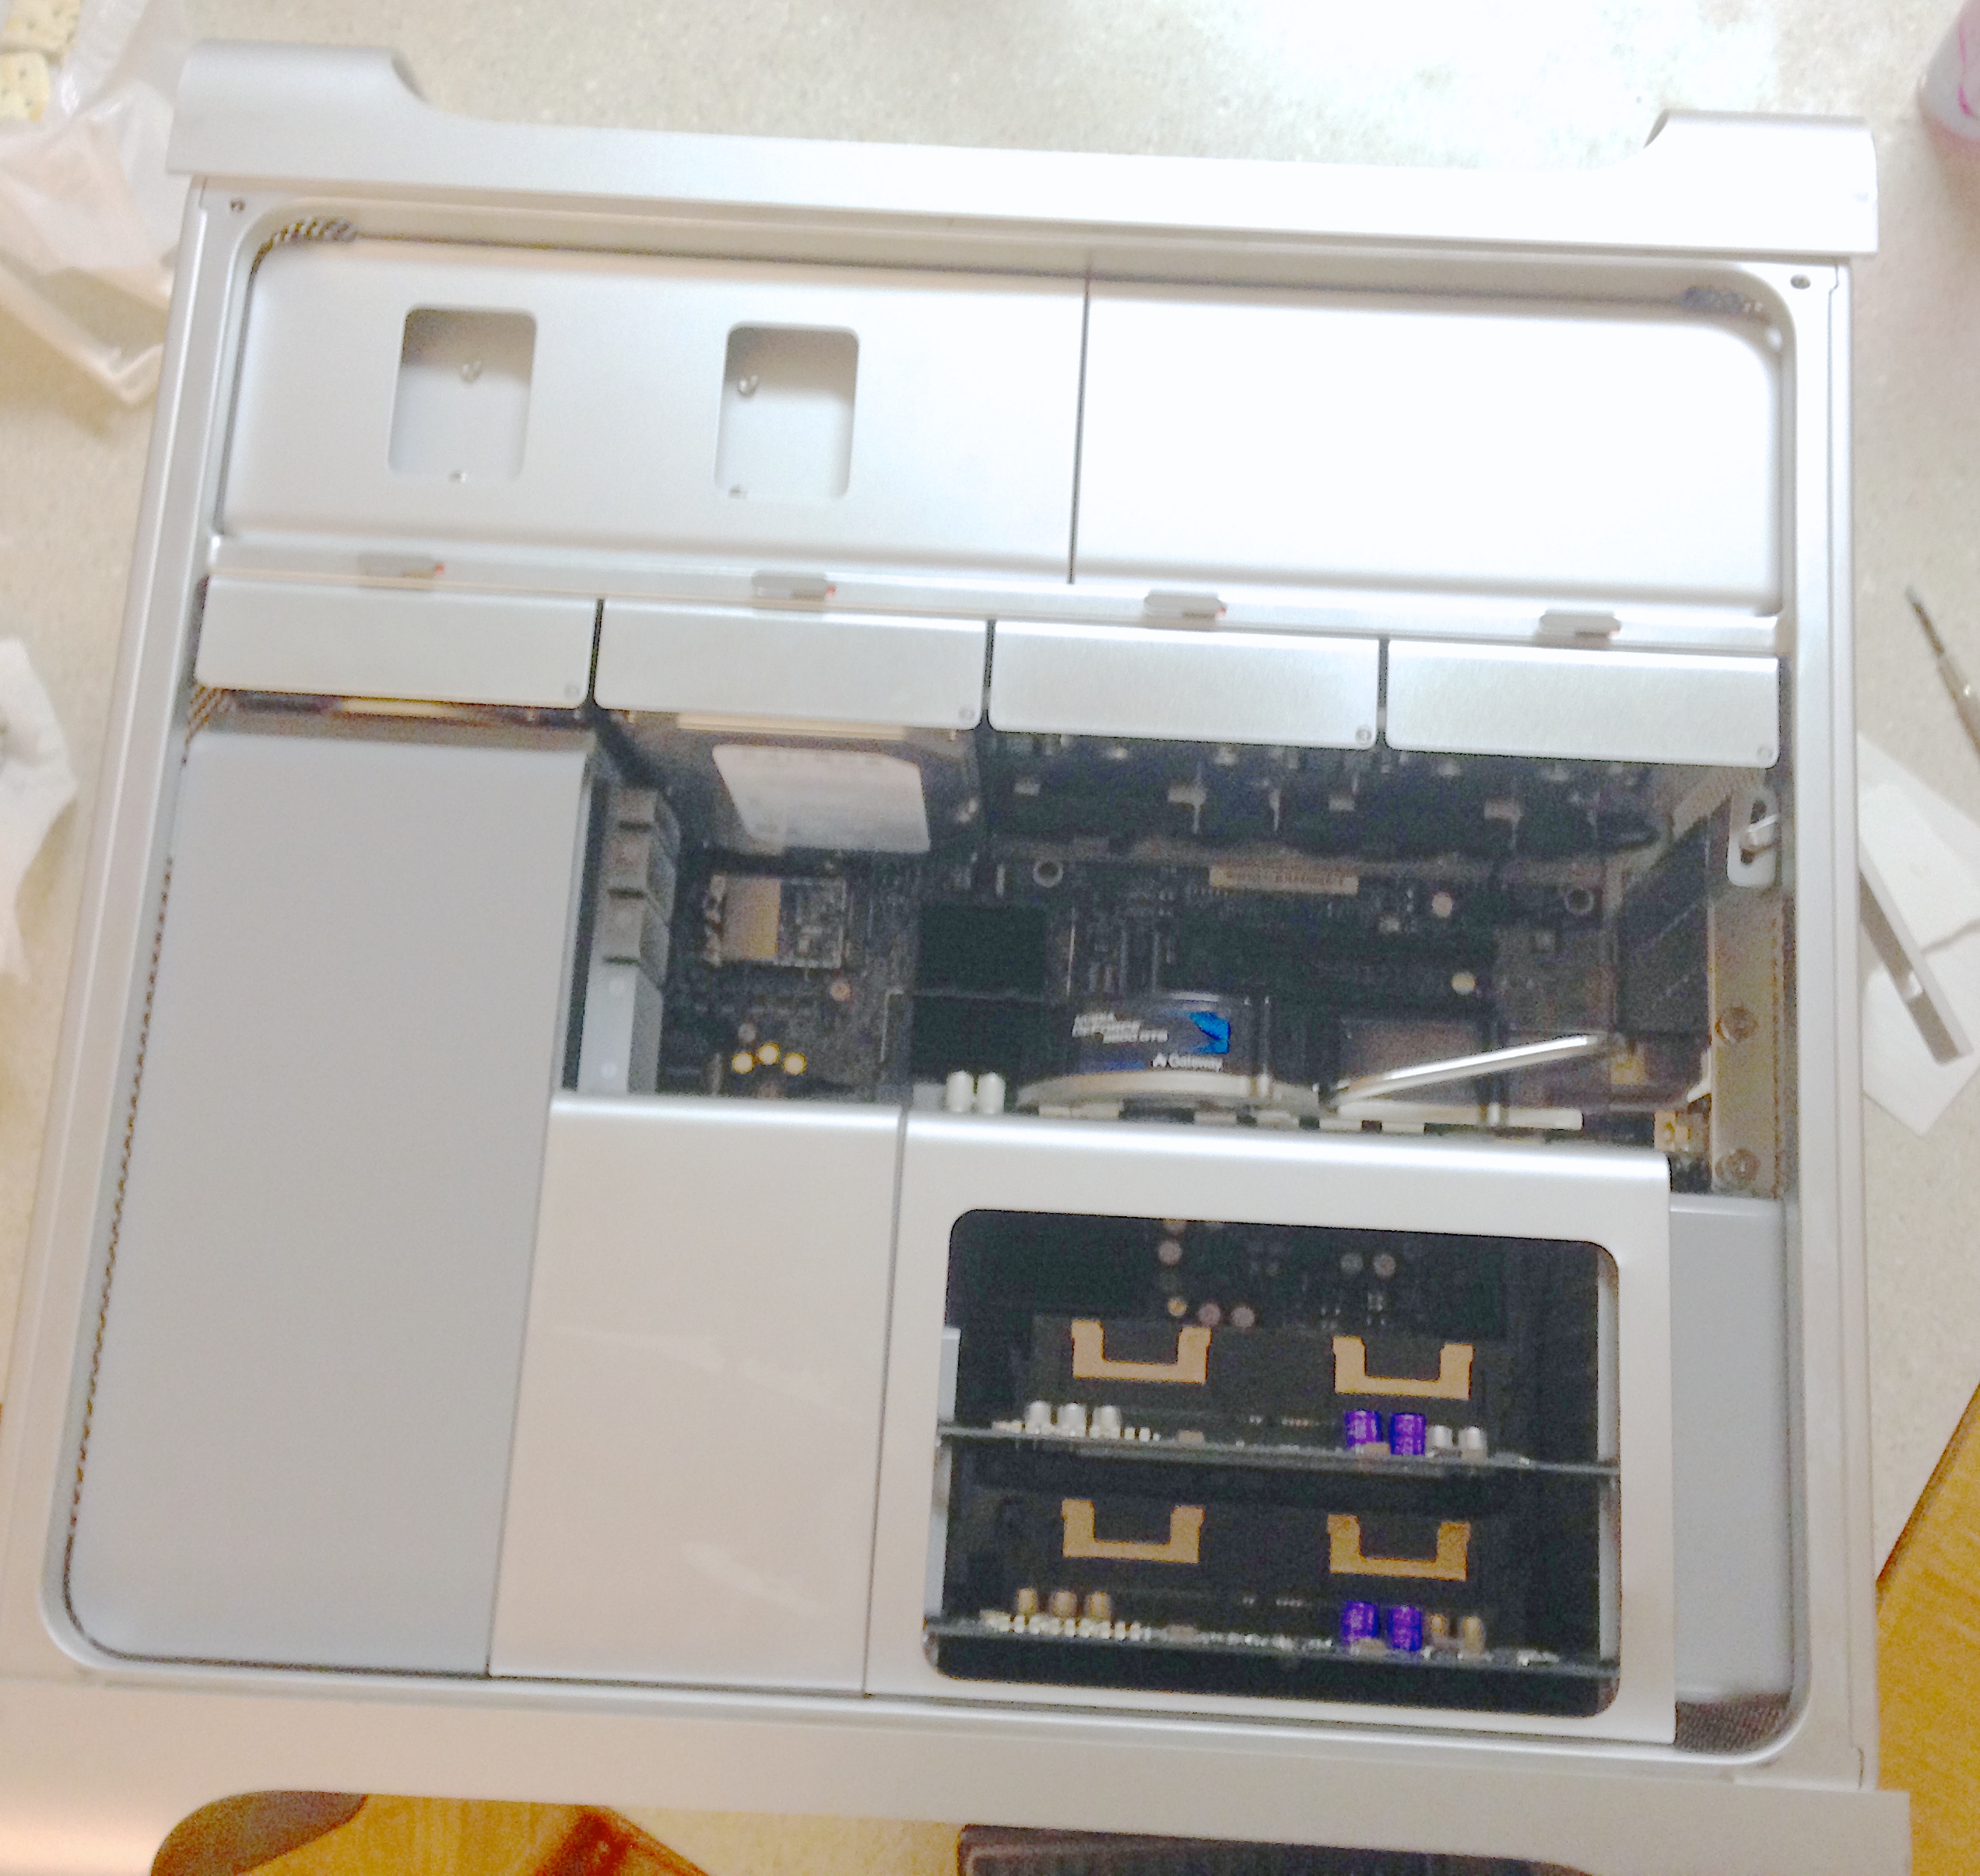
One problem with this free Mac Pro was that it was missing the memory card cage and rear fan. I purchased one of those off eBay for $20. For the mean time I had to hold the memory riser cards up by using so electrical tape (see picture below). I wanted to get some extra performance out of this Mac Pro to put it in a closer category with my 2.6Ghz i7 Retina MacBook Pro so, naturally, upgrading the processors seemed like a great idea! Apple released an 8-core version of the original Mac Pro and dubbed it the MacPro2,1 (as opposed to the MacPro1,1). This official 8-core version used two 3Ghz Quad-Core Intel Xeon X5365’s.
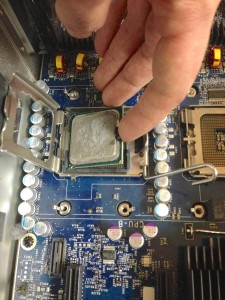
Looking on eBay, the only X5365’s were close to $200! Most were being advertised as an upgrade kit for the original Mac Pro. I decided to look at some similar processors and settled on the Xeon X5355. This processor is literally the exact same as the X5365 but runs at the lower clock speed of 2.66Ghz. I found a matched pair on eBay for $60! So I purchased them, along with some Arctic Silver 5 thermal paste and 16GB of DDR2 RAM for $25 at the local computer shop. The upgrade process went smoothly!!
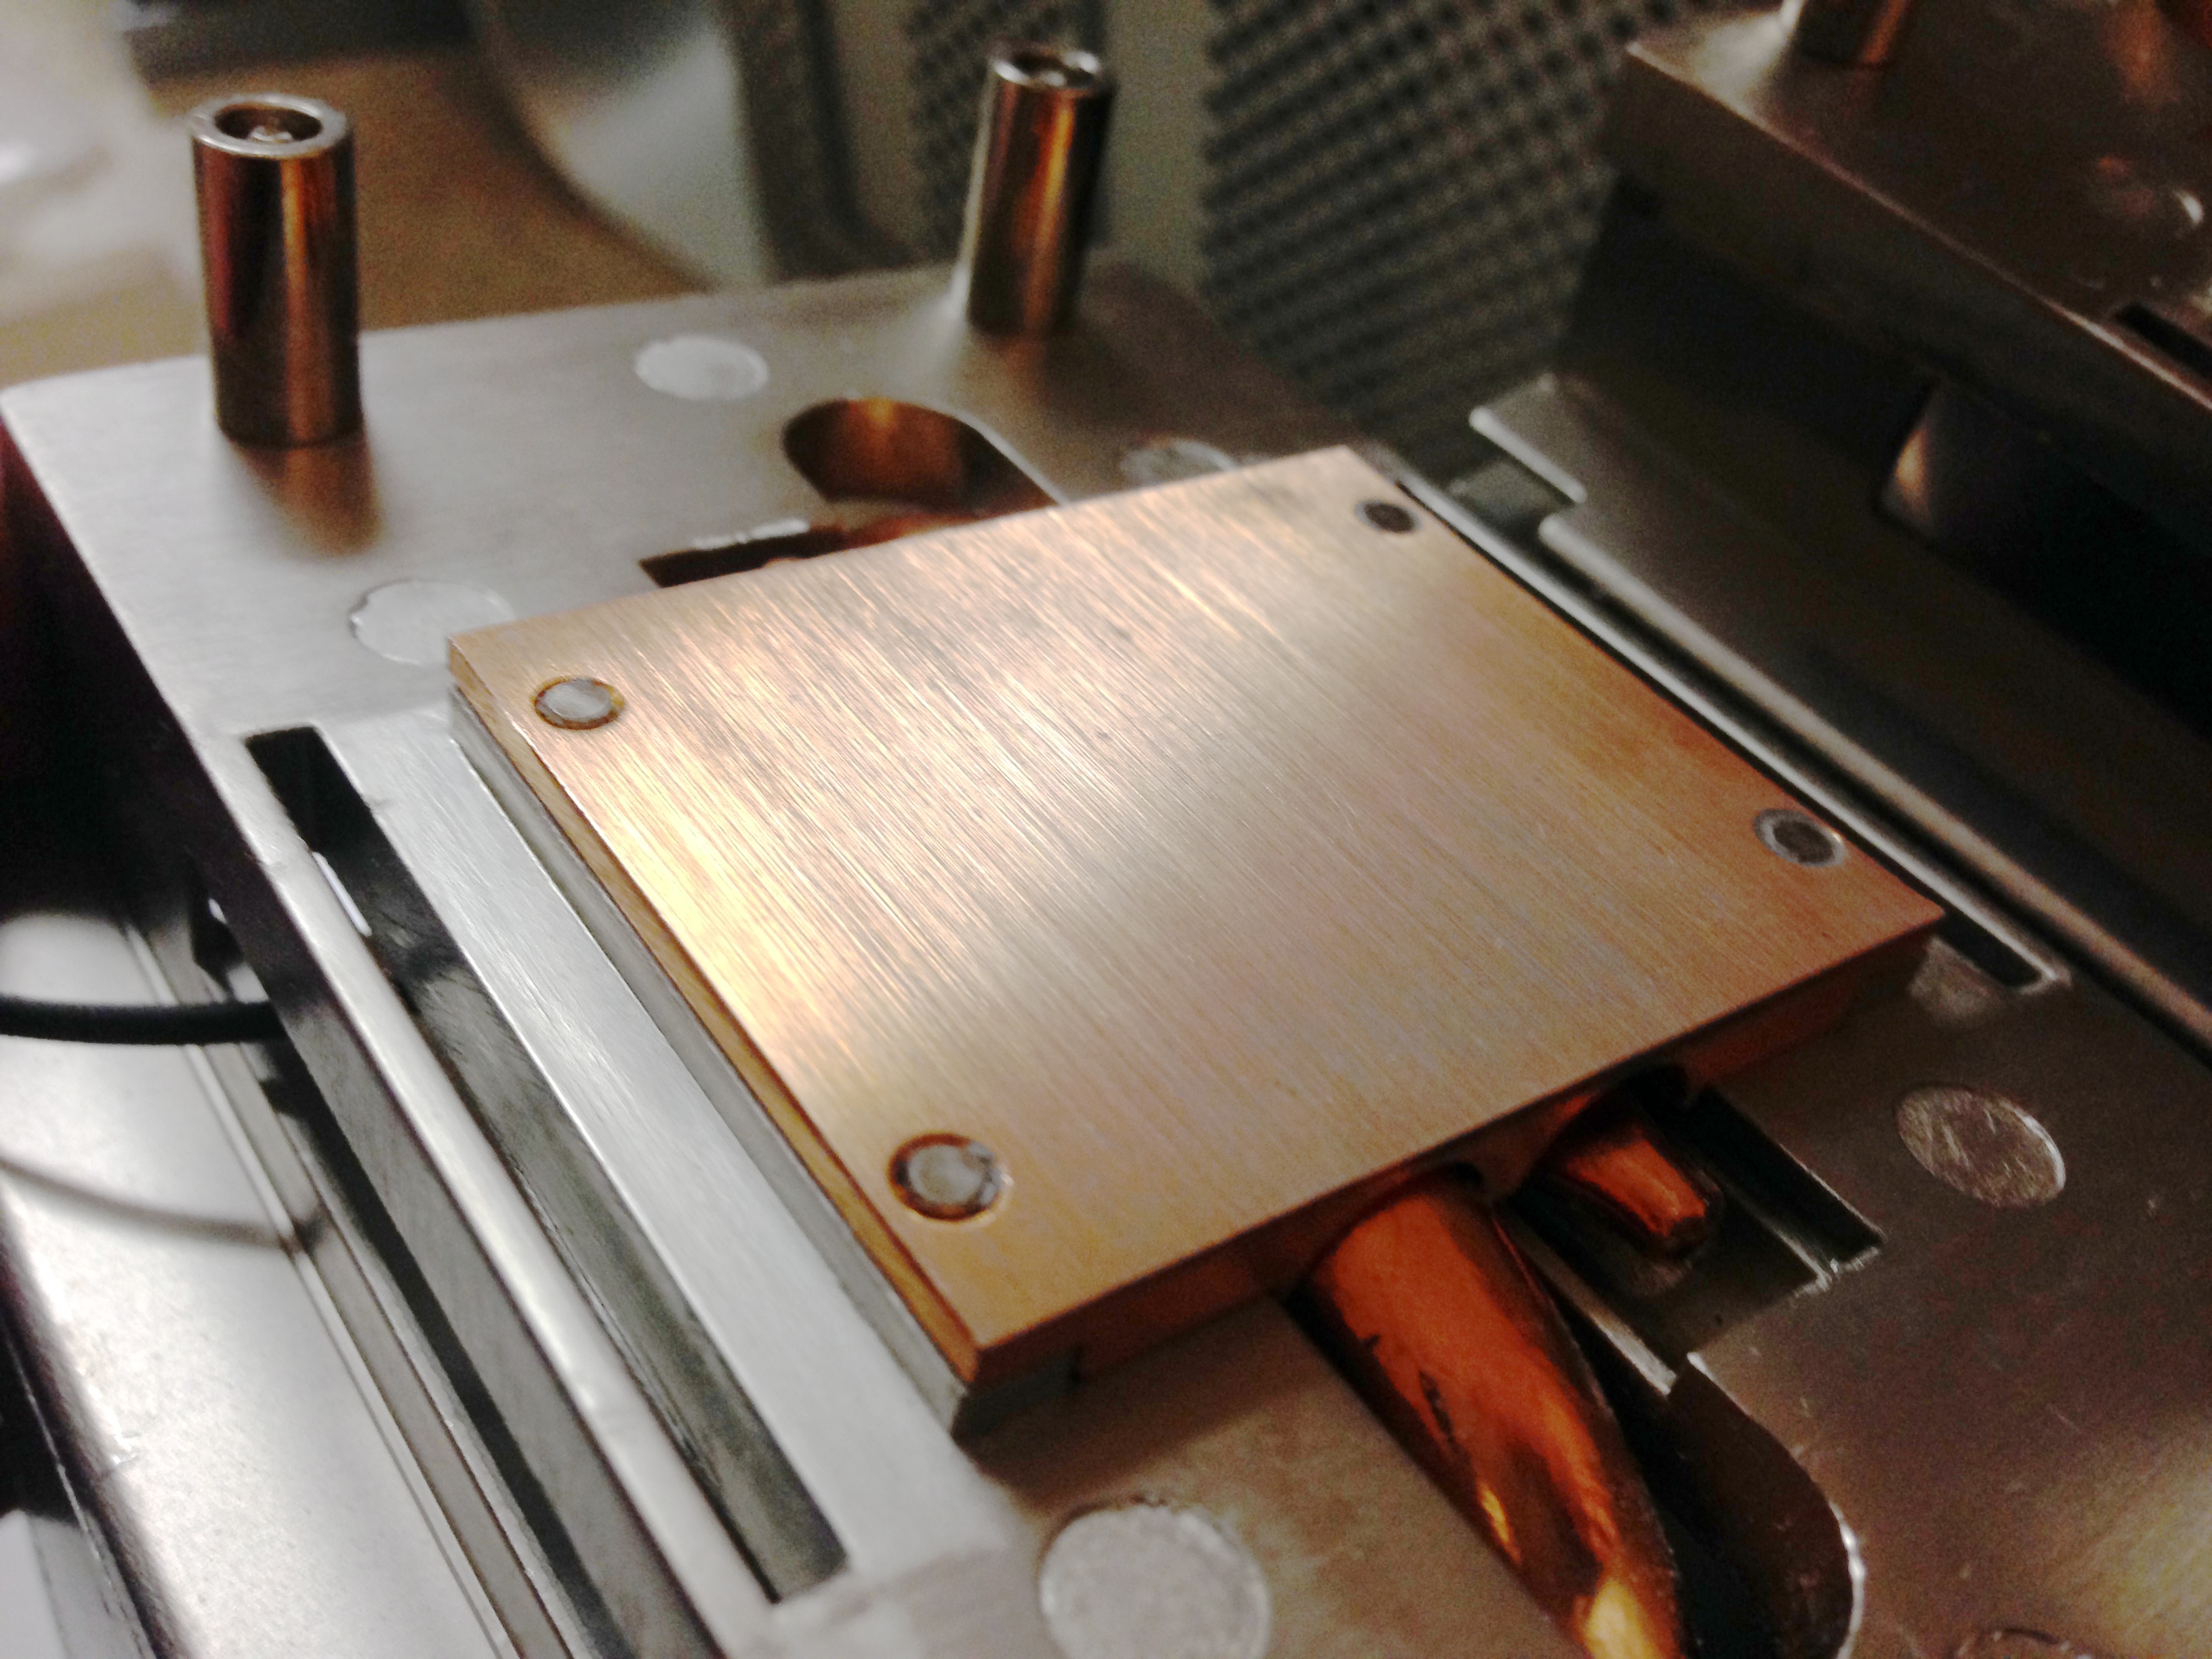
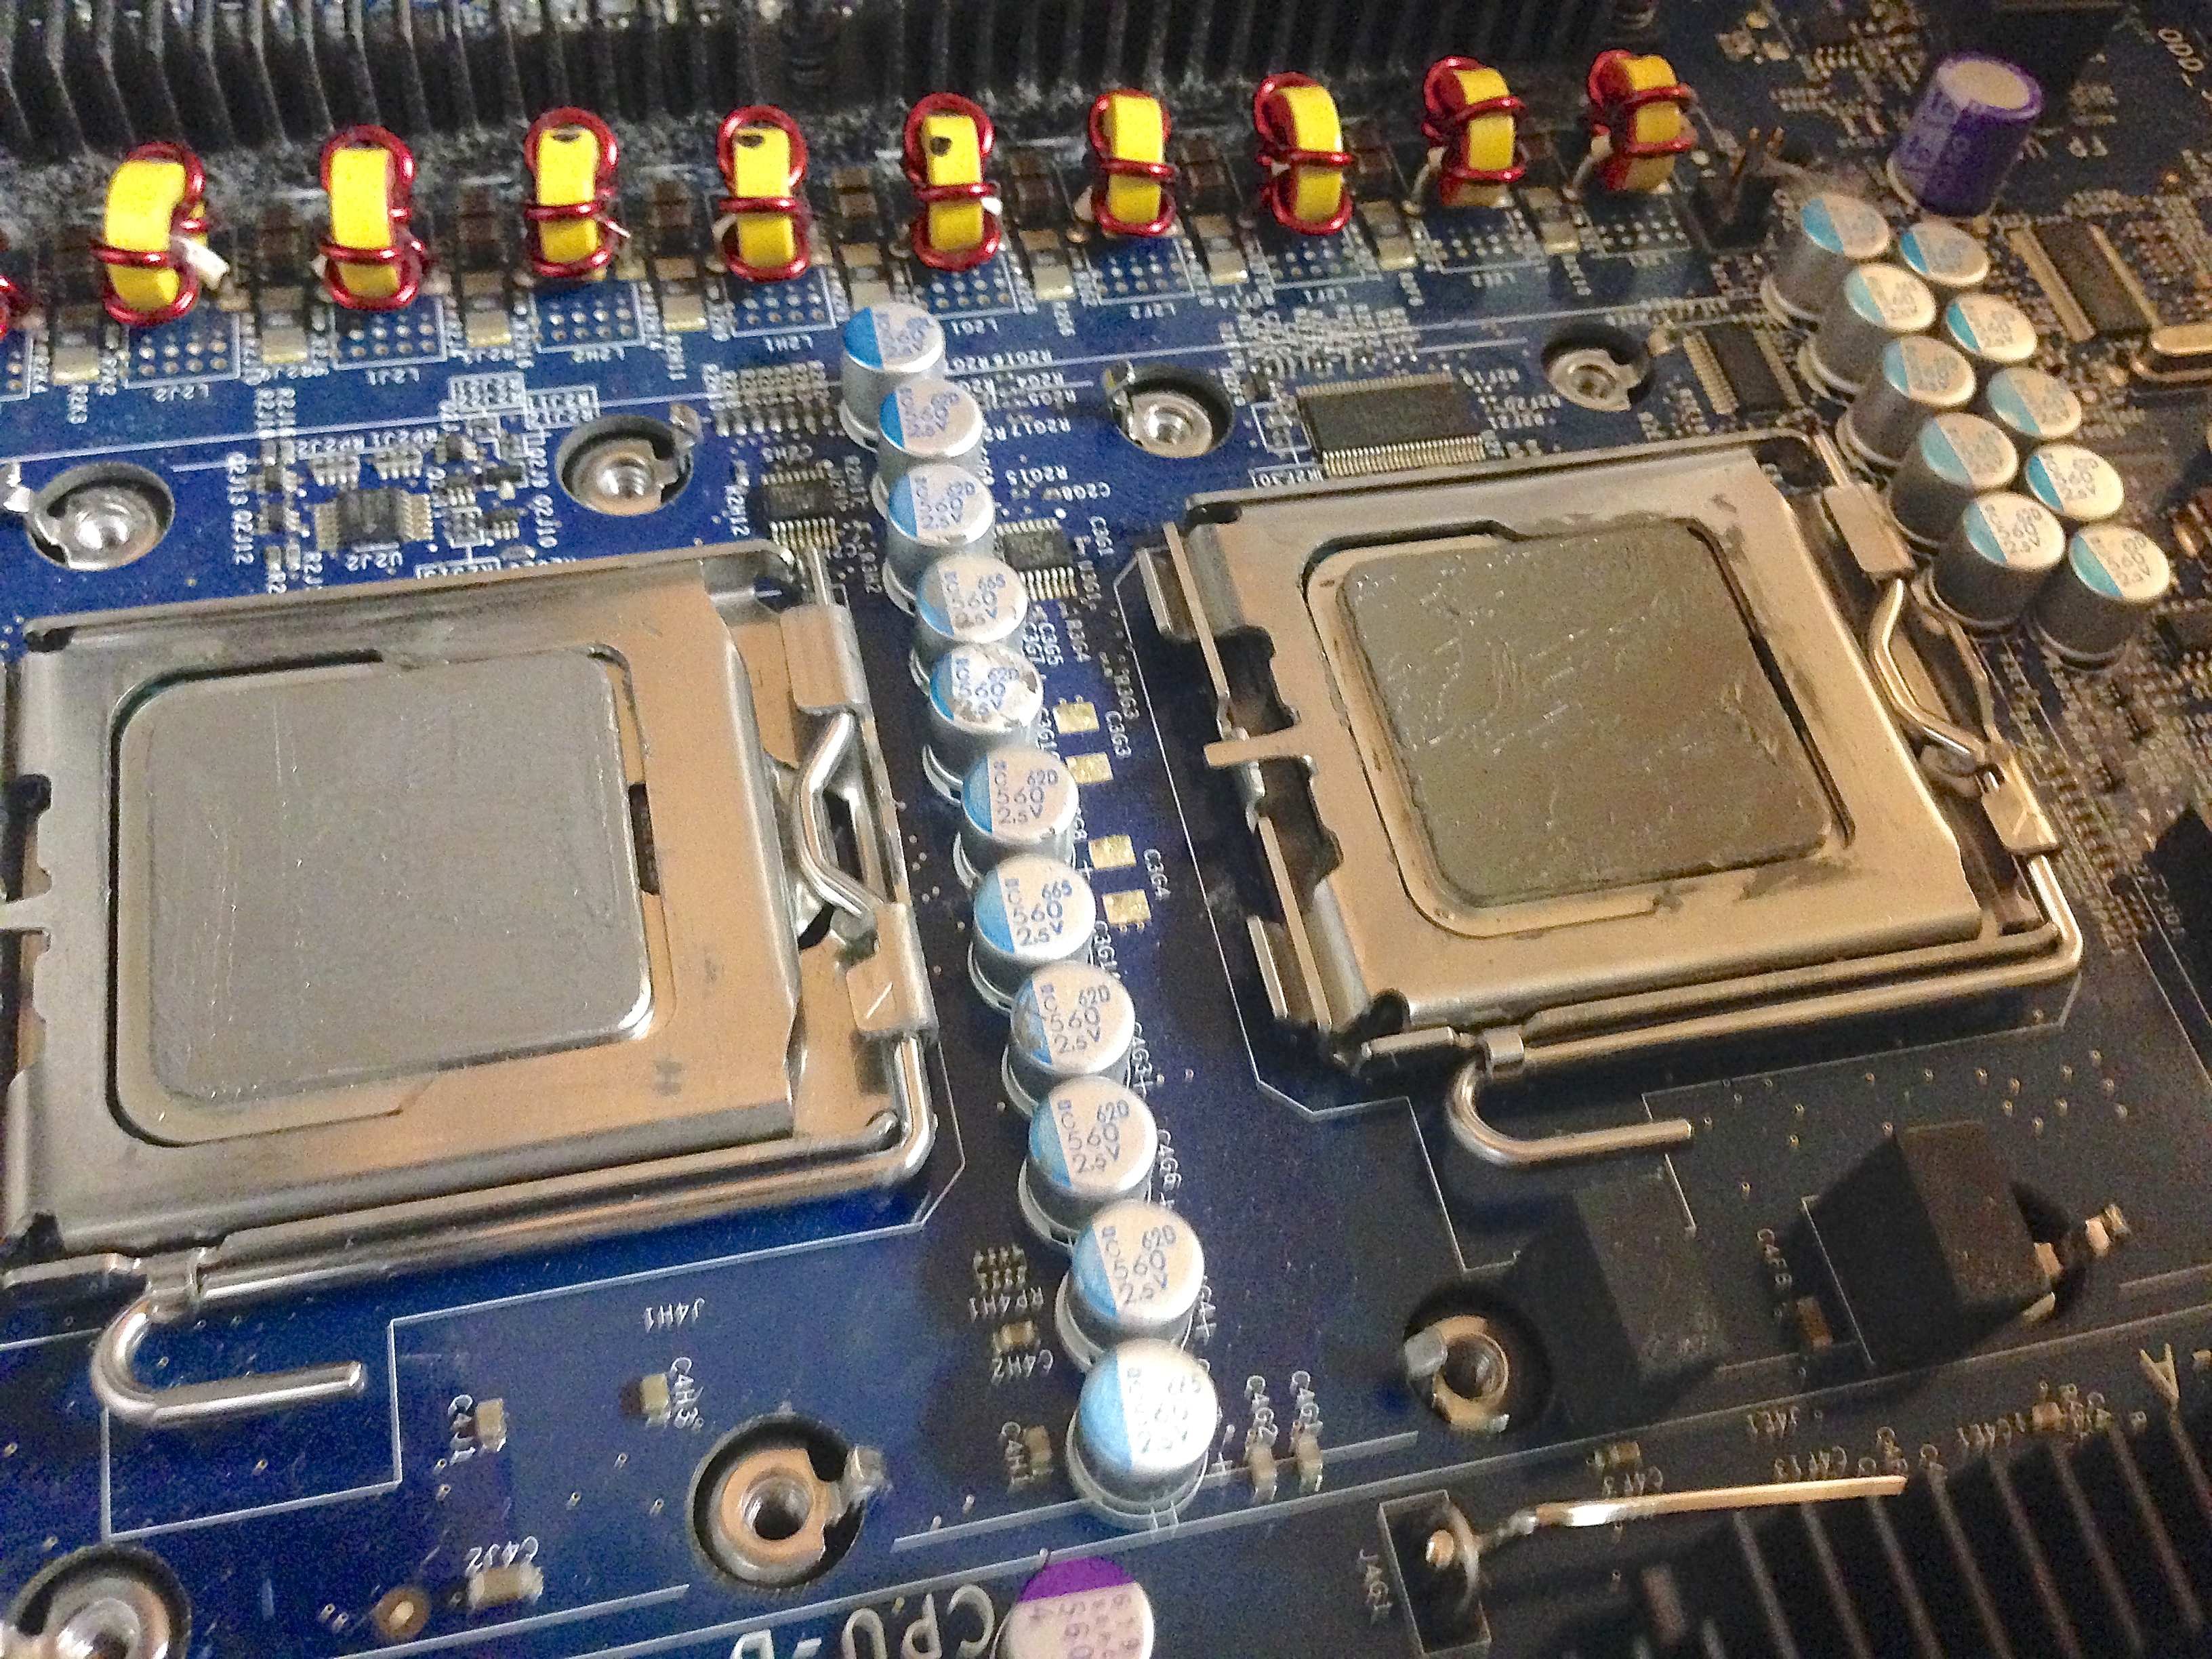
Here’s the upgrade process in pictures:


Results:
The new geekbench score blew the old one out of the water! All in all, even though this Mac Pro is close 8 years old now, it still is a very fast machine!! I’m excited to try and rip some of my blu-ray movies for the Apple TV!
UPDATE: CPU1 is running about 15 – 20 C higher than CPU2… I might need to reapply thermal paste to one of the processors. It could also be that I didn’t tighten down the heatsink enough. I will fix it and let y’all know the results!